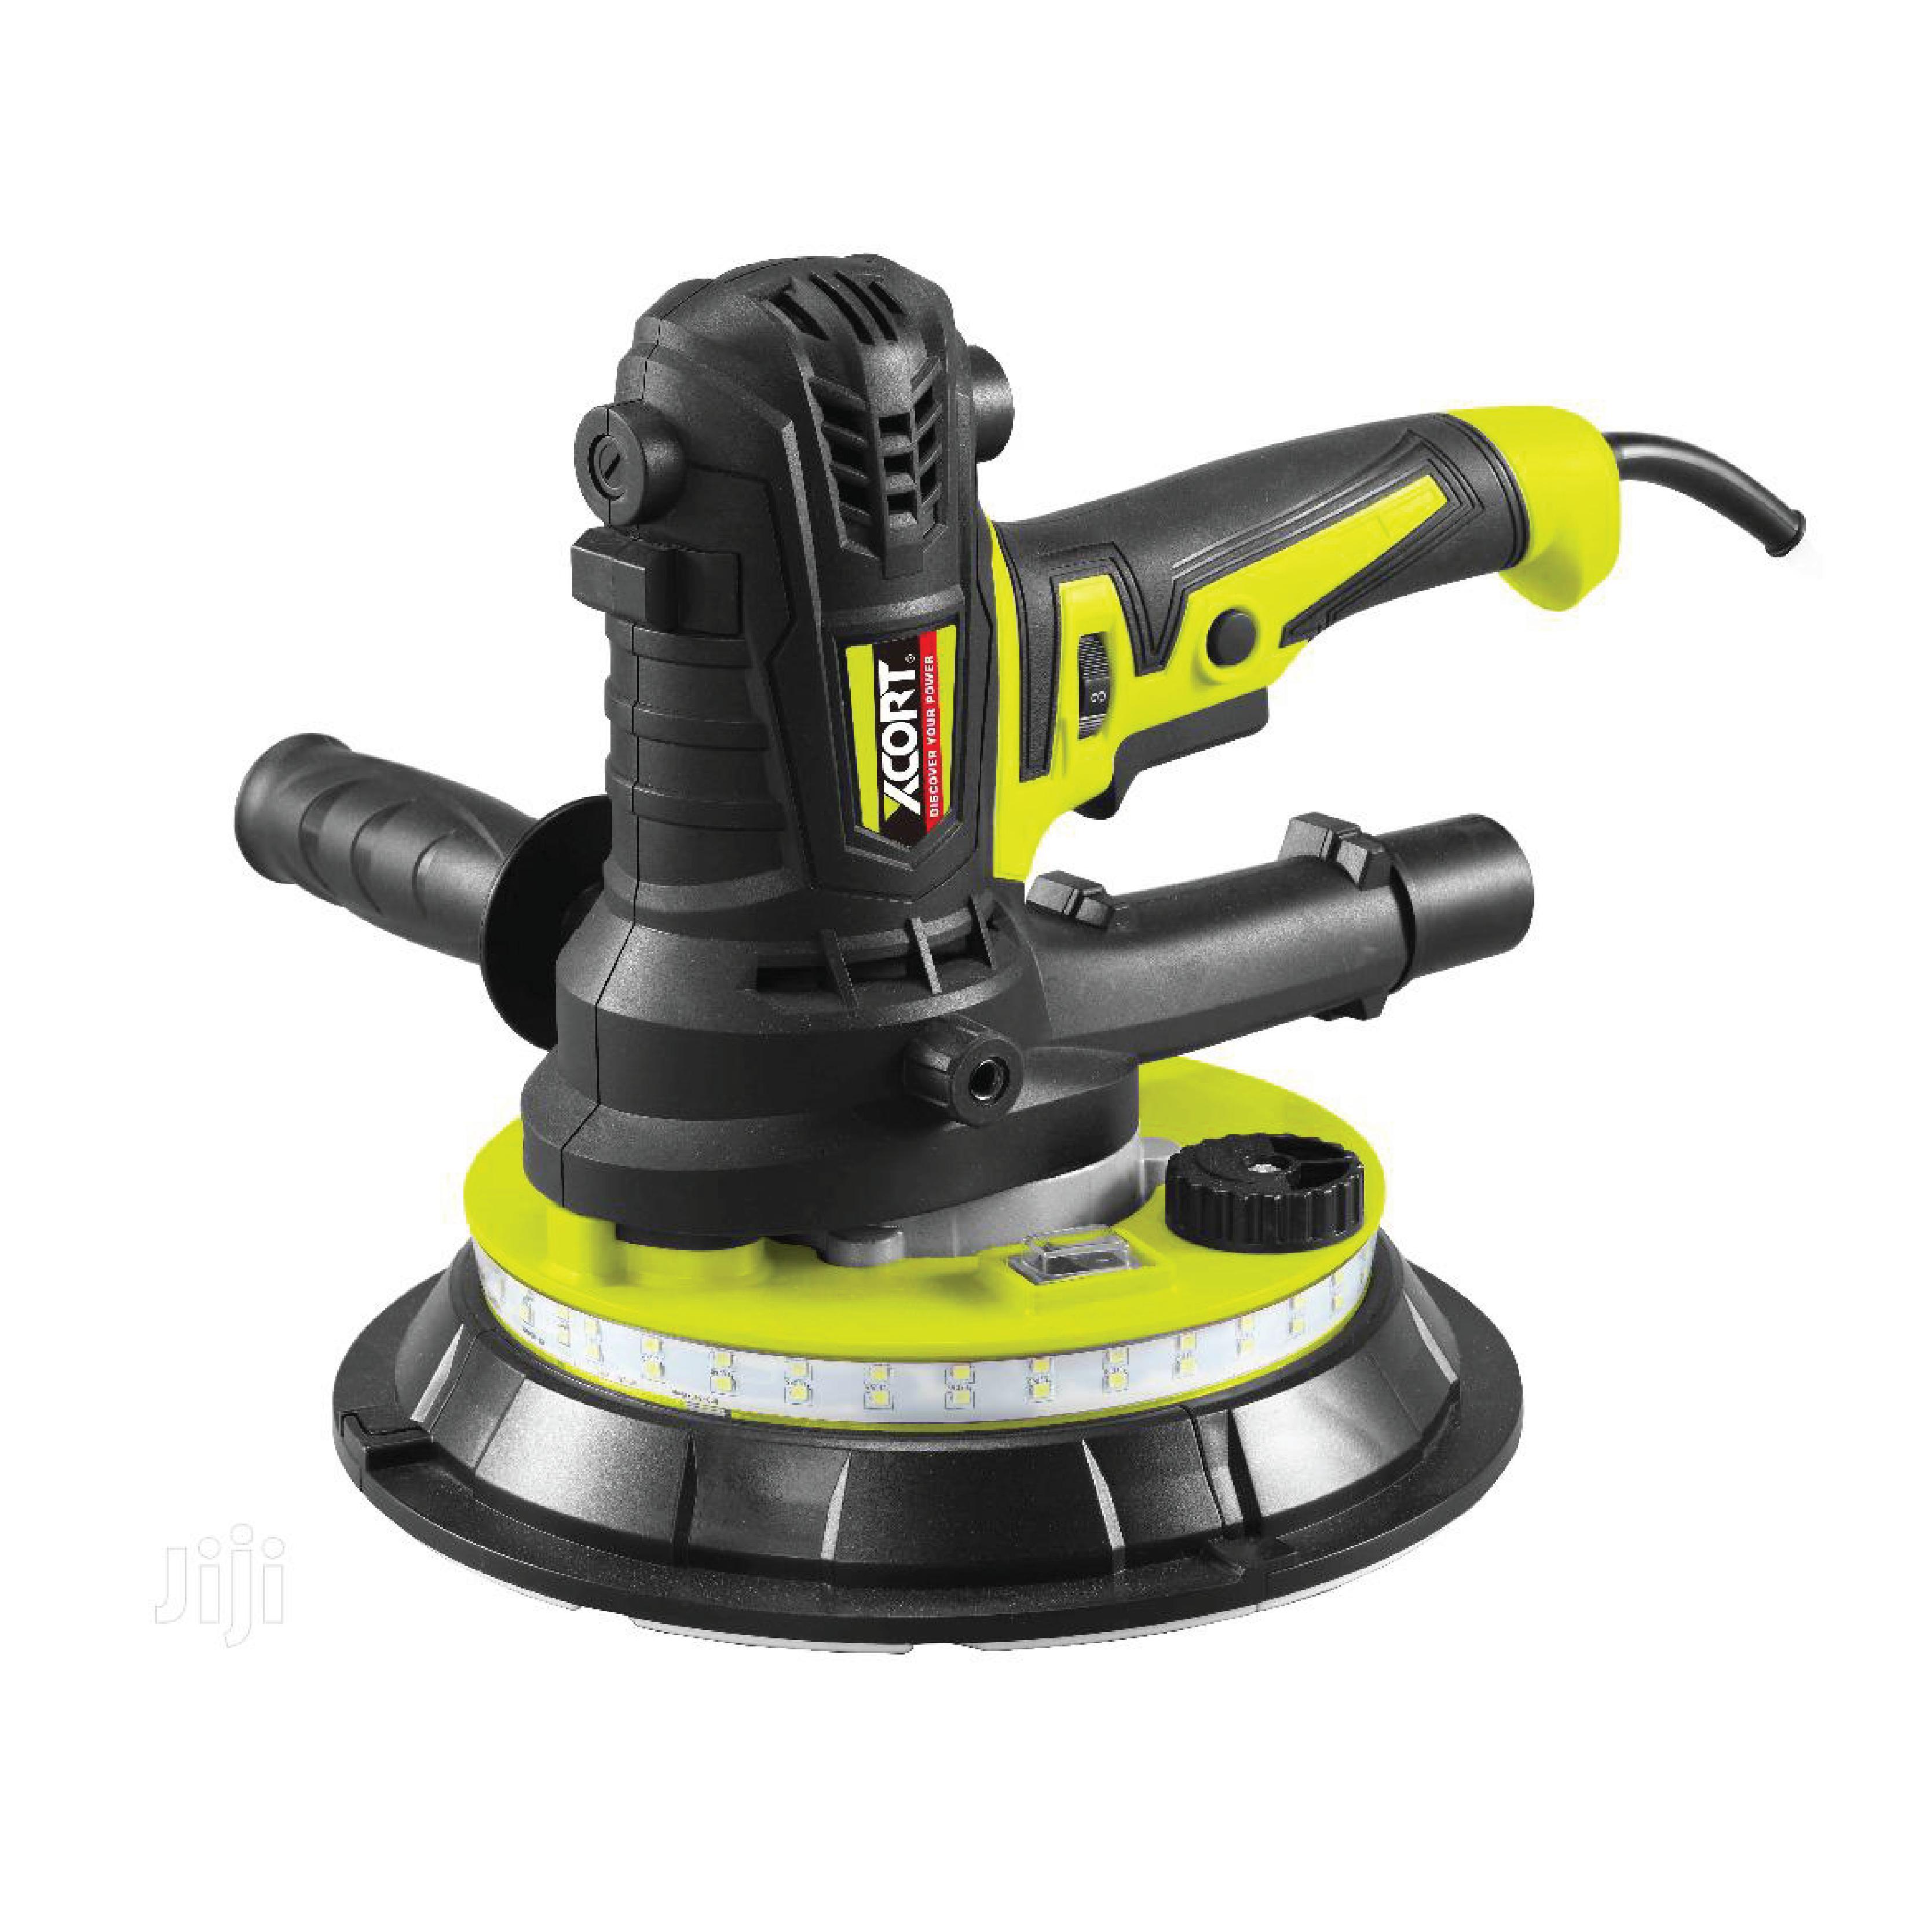
If you're looking for a sander that provides a smooth edge to the inside of drywall corners, then you might want to consider buying a corner sander. These sanders are used to sand corners on ceilings, walls, and converging wall surfaces. These sanders are also useful for priming drywall before painting.
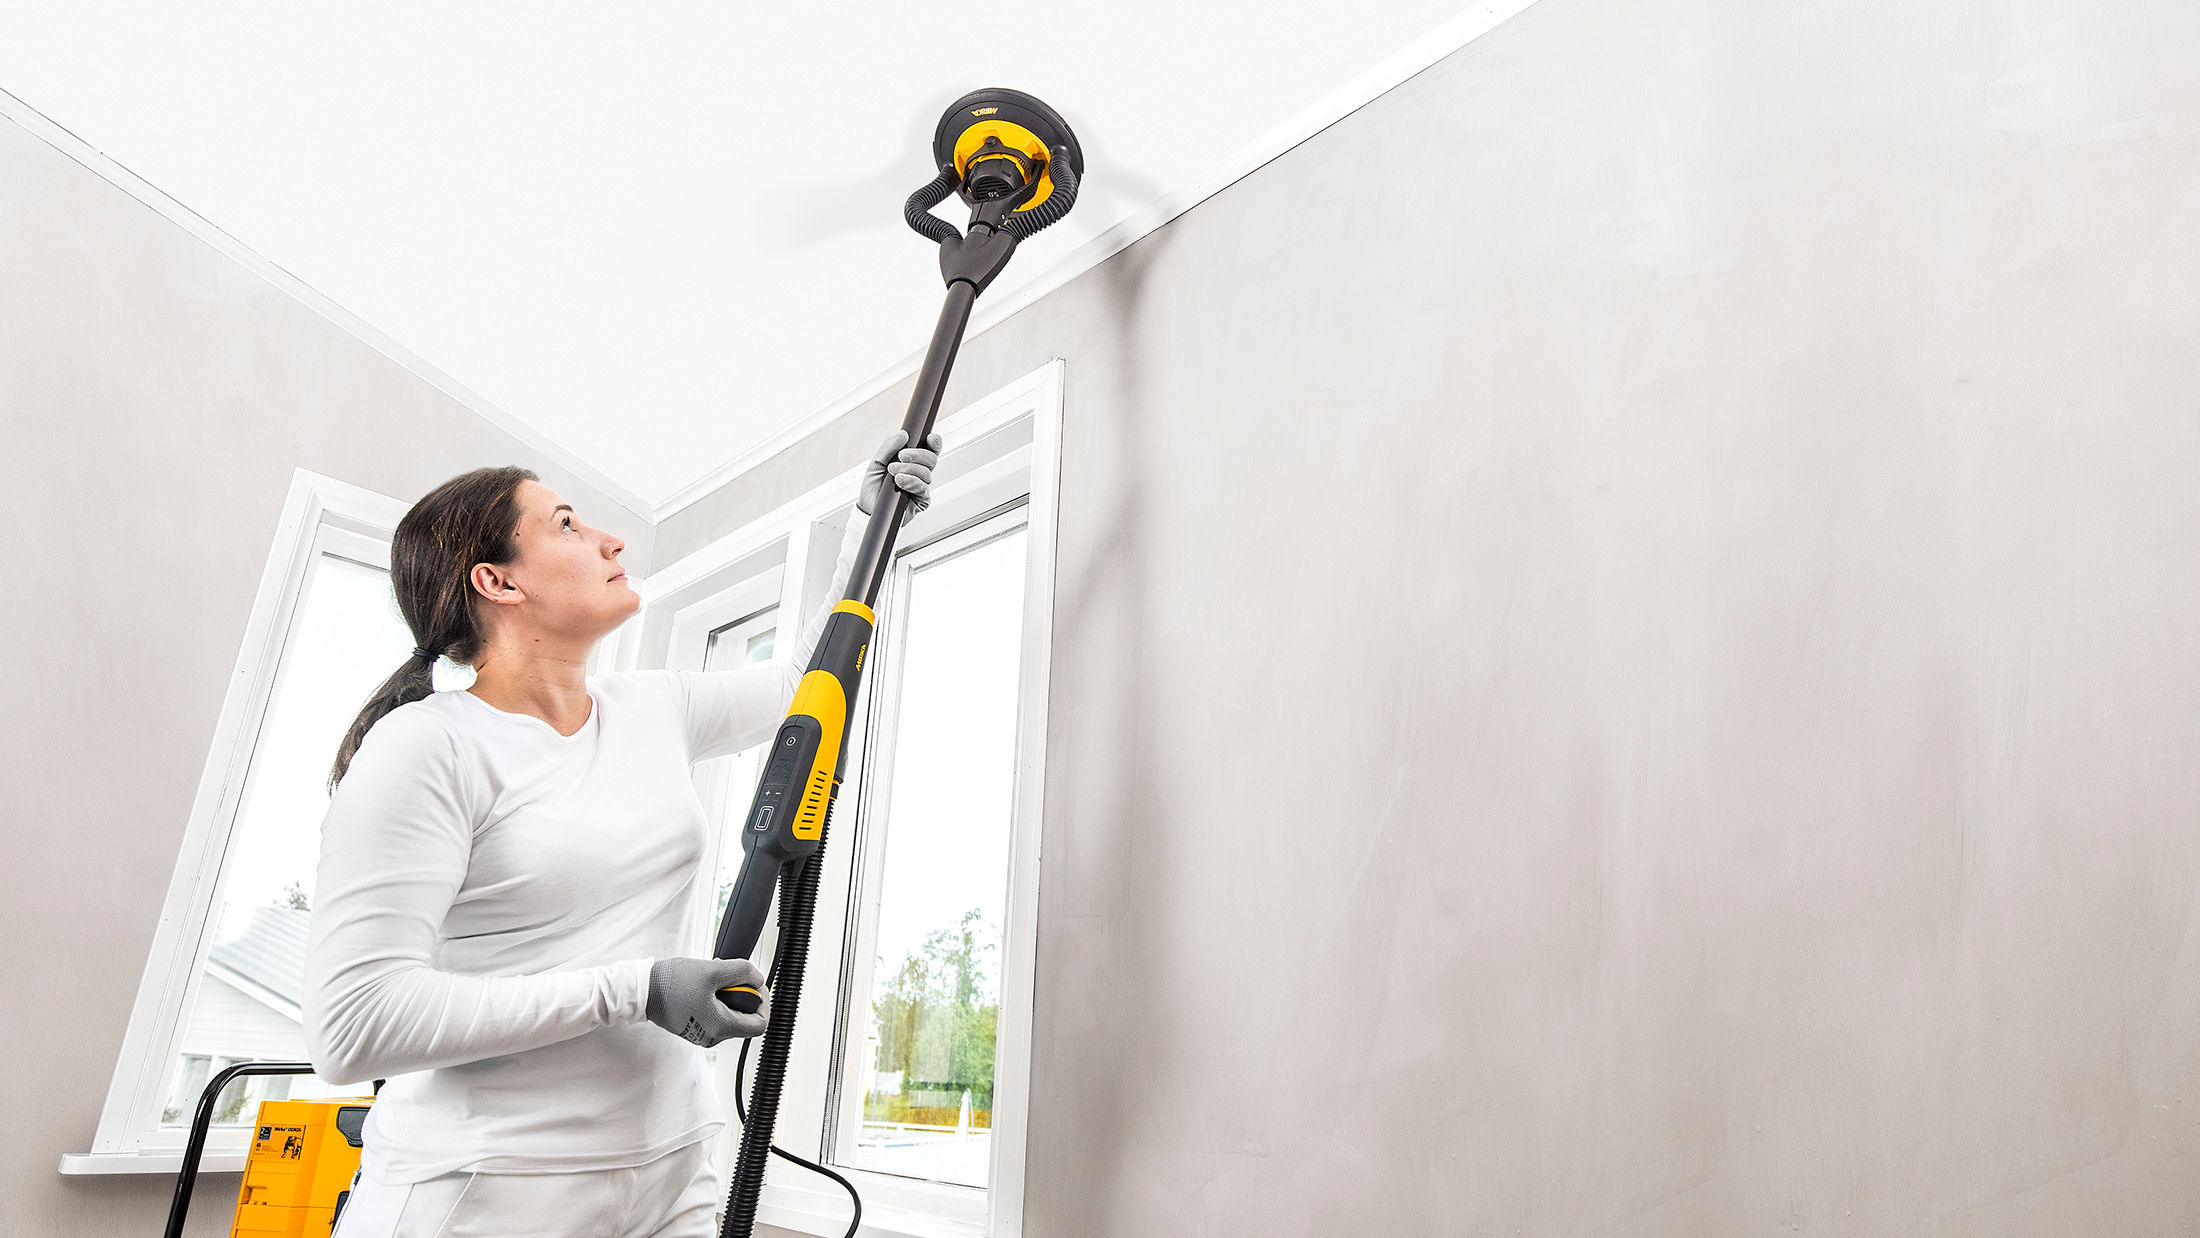
Drywall corner-sanders have a cylindrical, adjustable sanding head. This allows you to sand corners from the inside without having your arm, shoulder, back or neck twist. The sanding head is 9 inches in diameter, which makes it great for grinding and sanding drywall, as well as for clearing floor residue.
Corner sanders make it possible to simultaneously sand both corners of drywall. This is possible due to the two pivot points on the sander. One axis is located in the sanding cavity, and the other axis is located outside the sanding cavity.
The center seam is the best place to sand the inside of a corner of drywall using a sander. This can cause cracks or crevices in the drywall. To avoid this, sand at least one side of the corner.
An improved drywall corner saw is equipped with an elongated frame that includes a pair spacing apart braces. The braces are mounted on an axe that extends between each brace. An axle tab connects to the handle.
Also located on the handle is a pivot point. This pin is a component of the second pivot axis. A tab is also included in the axle. It extends beyond the inner corner.
The improved drywall corner saw has a universally pivoting grip. This design makes it easier to use and offers greater storage.
The sander's ergonomics are also excellent. It uses a soft comfort grip, and features interchangeable sponges for different sanding needs. It can even be reconfigured with a pole to sand at 90-degree corners.
The improved drywall corner sander is simple to use. The sanding head consists of a cylindrical that can be moved up and down along a drywall corner. The sander is equipped with two pivot axes that can be moved upwards and downwards along a drywall corner. This reduces the impact of sanding on the side wall.
A sanding pad is also attached to the sanding cavity. You can attach the pad to any of the outer sides of the side walls using any method you prefer. Sanding is much easier as the sanding pad can be connected to the outer faces of the side walls by any convenient means.
Alternatively, the sanding cavity may be filled with joint compound. Joint compound is useful for filling in deep crevices and for smoothening out uneven surfaces. It is simple to clean and contains abrasive particles on all sides.
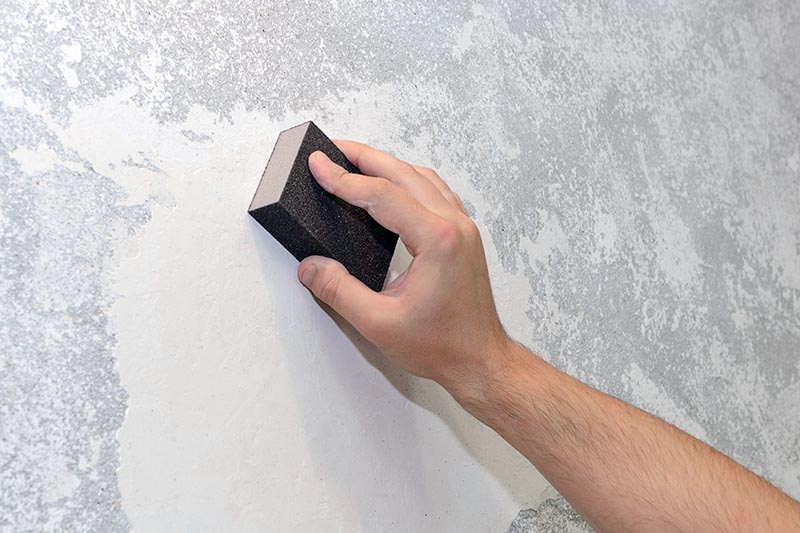
Drywall sanding is a tricky job. Protective gear is required to keep dust from your eyes and hair. You also need to ensure that you only use light pressure while sanding drywall.
FAQ
Are there ways to save money on home renovations?
Doing the majority of the work yourself can help you save money. For example, you could try to cut down on the number of people you use during the renovation process. You might also look for ways to decrease the cost and use of materials in the renovation.
How much does it cost for a house to be renovated?
Renovations cost typically $5,000 to $50,000. Most homeowners spend around $10,000 to $20,000 on renovations.
Are permits required to renovate my home?
Permits are required before you can start any home improvement project. You will require a building permit as well as a plumbing permit in most cases. You might also require a zoning permission depending on which type of construction is being undertaken.
How many times should my furnace filter need to be changed?
How often your family expects to use the heating system in their home will determine the answer. You may need to change your filter more frequently if the temperature drops and you plan on being away from home during colder months. However, if you rarely go out of the house, you may be able to wait longer between changes.
A furnace filter typically lasts for three months. You should replace your furnace filters every three months.
Check the manufacturer's guidelines for when you should change your filter. Manufacturers recommend changing your filter after each heating season. Other manufacturers suggest waiting until visible dirt builds up.
Statistics
- It is advisable, however, to have a contingency of 10–20 per cent to allow for the unexpected expenses that can arise when renovating older homes. (realhomes.com)
- Most lenders will lend you up to 75% or 80% of the appraised value of your home, but some will go higher. (kiplinger.com)
- Design-builders may ask for a down payment of up to 25% or 33% of the job cost, says the NARI. (kiplinger.com)
- A final payment of, say, 5% to 10% will be due when the space is livable and usable (your contract probably will say "substantial completion"). (kiplinger.com)
- The average fixed rate for a home-equity loan was recently 5.27%, and the average variable rate for a HELOC was 5.49%, according to Bankrate.com. (kiplinger.com)
External Links
How To
How do I plan a whole-house remodel?
It takes careful planning and research to plan a complete house remodel. Before you start your project, there are many factors to consider. It is important to determine what type of home improvements you are looking to make. You can choose from a variety of categories, such as kitchen or bathroom, bedroom, living space, or living room. Once you know which category you would like to work on, you'll need to figure out how much money you have available to spend on your project. If you are new to working in homes, budget at least $5,000 for each room. If you have more experience, you might be able spend less.
Once you've determined the amount of money you can spend, you need to decide how large a job you want. You won't be capable of adding a new floor, installing a countertop, or painting the walls if your budget is limited to a small remodel. However, if enough money is available to complete a kitchen renovation, you should be able handle most things.
The next step is to find a contractor who specializes in the type of project you want to take on. This way, you'll be guaranteed quality results and you'll save yourself a lot of headaches later on down the road. After finding a good contractor, you should start gathering materials and supplies. Depending on the project's size, you may have to buy all of the materials from scratch. You shouldn't have any trouble finding the right item in pre-made stores.
Once you have all of the necessary supplies, you can start making plans. Begin by sketching out a rough plan of where furniture and appliances will be placed. The next step is to design the layout of the rooms. It is important to allow for electrical and plumbing outlets. Make sure to position the most visited areas close to the front door. Visitors can also easily access them. The final step in your design is to choose colors and finishes. Avoid spending too much on your design by sticking to simple, neutral colors and designs.
Now that your plan is complete, it's time you start building! Before you start any construction, be sure to check the local codes. Some cities require permits while others allow homeowners to build without one. Before you can begin construction, remove any walls and floors. The next step is to lay plywood sheets on your new flooring. Next, you'll attach the wood pieces to the frame of your cabinets. The frame will be completed when doors and windows are attached.
After you're done, there are still a few things you need to do. Covering exposed pipes and wires is one example. Plastic sheeting and tape are used to cover exposed wires. Also, you will need to hang mirrors or pictures. Be sure to tidy up your work space at all costs.
If you follow these steps, you'll end up with a beautiful, functional home that looks great and saves you lots of money. Now that you have a basic understanding of how to plan a house remodel, it's time to get started.